
Putting Tube On
- Remove the lens from the camera
- Put the extension tube onto the camera. It will click.
- Put the lens onto the Tube. It will click.
Taking Tube Off
- Remove the lens from the tube, leaving the tube(s) attached.
- Remove the extension tube. (remove them each in order, starting with the one furthest from the body.
An Example Tube Use
150mm lens
With standard helix, you should be able to focus to approximately 1.4 meters.Without any extension tube, you can just fill frame with a square object that measures approximately 15 inches to a side.
The 8mm extension tube lets you fill the frame with objects between 11 and 40 inches.
The 16mm extension tube lets you fill the frame with objects between 8.6 and 20 inches.
The 21mm extension tube (which is no longer made) lets you fill the frame with objects between 7.6 and 15 inches.
The 32mm extension tube lets you fill the frame with objects between 6 and 10 inches.
The 56mm extension tube lets you fill the frame with objects between 4.1 and 5.7 inches.
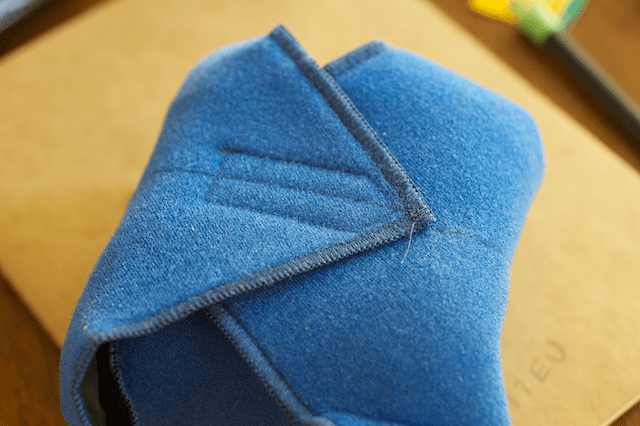 when you have just one item it is easy to remember what lies behind the blue wrapping. However, when your back is full, labeling or tagging those things is a better idea. If you label by writing on the lens-wrap, you have to keep it separate and sorted. I prefer to have movable labels.
 This cryptic note lets me know that a Hasselblad A-12 back is loaded with IR(infrared) film and ready to use.
You must be logged in to post a comment.