
The darkroom is the eater of paper. Paper comes in; prints come out. The in-between is the bulk of the mystery (magic?) of photography — at least in the land of chemical photography.
Printing is a process of cumulative learning; each time you print, you gain skill, the procedures become background until a new paper… With a new paper/chemistry, comes learning, trial, error, etc. – The way out of endless, useless trials is systematic testing.
After calibrating a new paper, work prints are achieved with little waste of time or material. It takes one sheet of 11×14 paper cut into 5×5 & 4×5 pieces. The leftover strips are used to determine ‘first white’ exposure. In less than 2 hours a full test session is completed.
If you are using a 21st century darkroom electronics system, such as from RH, or Heiland, or DA, they each come with ‘calibration’ instructions (or kits) These systems ship with some common programming for the frequently used Ilford papers. They do not have data for unusual papers such as those from Slavich.
New Paper: Slavich Bromoportrait
[2018, no longer available] Paper has a white and a black. A lightest and darkest. Even if color, there is a light and dark — our intent is to determine the least amount of light to make a useable first tone. this first tone is our off-white – the OW — max white is paper itself. The base tone of all prints.
My Test: Slavich Bromoportrait #3 developed in Moersch SE-1 Sepia developer.
Increase Certainty
The use of a transmission step negative gives a known range of tones to expose the test paper/developer to. With a Stouffer T2115 we have 21 steps spaced at half-stop intervals, just this little bit of standard is all that we need to make an accurate profile of our paper/developer.
I begin with making a step test to determine the first white of the paper. The result of my test is shown in the bottom left image. Those steps were made in quarter stop increments.
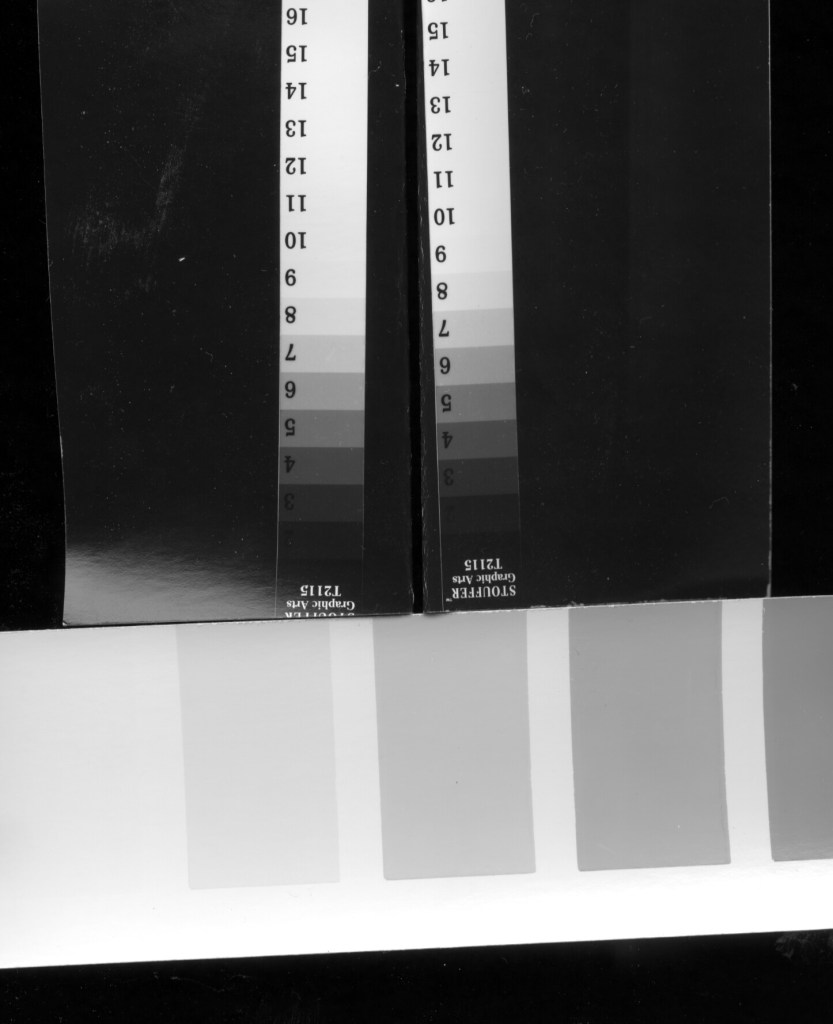

The result of this “white” stage tells me a starting point for this paper.
Since I make several thousand prints each year, using standardized start points, in addition to darkroom electronics, means my throughput remains high while lowering my costs. Additional advantage is being able to change paper with the same image without starting from complete zero. I know in advance the exposure changes between papers. I also know the contrast range of papers I use, which means I have a better estimate of what paper this negative will match …
NOTE- if you’re APUG, or Large Format Forum registered, you may not use this material. Please, leave this site now!
continued…

You must be logged in to post a comment.