The big sale is over. It was last fall: M. Johnson and Ctein held another going out of business sale. The inventory just keeps taking up space. After 5 years, it hasn’t gone down enough. And we need to flog something, so… Like Mad Man Muntz ( an original TV discount sales store) we go out of business until we pay off the electric bill.
Why does this matter to me? The same reason weeds in the garden do: what you feed grows; if it takes over the garden, there is no garden.
Why Buy Prints?
I buy art because it satisfies my expectations. It does this by challenging me; brings me to another set of expectations. The more the work feeds my work, the more likely I will buy. I do collect. I don’t invest.
should you buy because it is a dye transfer?
I ask myself: is it immediately useful, instructive, completing : will it continue to enrich me; provide more questions, motivations for my work.
Am I buying out of fear of missing out? If yes, then I’d skip it.
The Pitch
The pitch is the alert. The premise of the sale: act now, act fast, this is a limited offering, this is rare, this is worth much more than you will pay.
How many times do you go out of business .. for as many times as there are buyers at the gate.
- the online adographer.
- the ad before the ad.
- a memo to announce the forthcoming memo
- colonel blimp reporting
- ctein being, blimpishly ctein..
Prestige of Process –
Self promoter who has become the big name by writing about. You are collecting a one time sale. There is no after life for this work.
The Ctein shelf: these are souvenirs. Souvenirs of someone else’s vacation trips.
Buying An Example
A mature artist has an after market. ctein doesn’t. His sales are to aficionados, so are of value only among themselves. They are scraps, examples. He isn’t placed in the conversation in any way other than that of the tech writer— a long way from meaning, but very close to standard commerce.
You Could Have Bought
During the month long sale what else could you have bought around that price ($700)?
How about — Barbara Morgan original print sold for $900; William Eggleston chromogenic sold for $790; Jerry Uelsmann sold for $1085.
These were auction prices with buyers premium.
However, Jim Marshal sold for 781 w/bp. A Steichen for Vanity Fair sold for $535 w/bp.
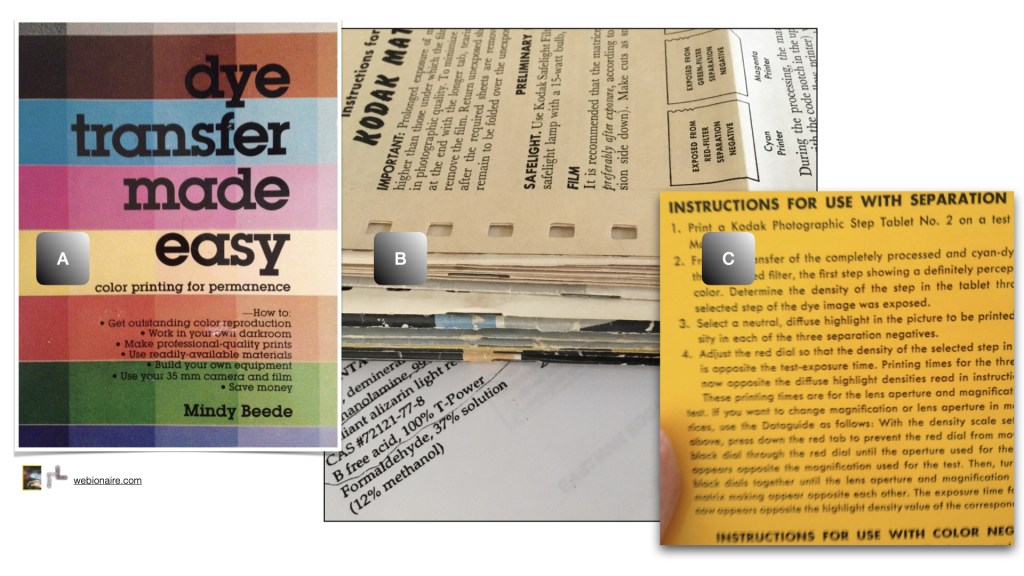
If you wanted it because it was a dye transfer, you could have bought a dye transfer off eBay for less than $150 — from proctor & gamble, reader’s digest, or similar publication art departments. You will even have a good example of commercial art retouching from decades past. You would have a reference document demonstrating why dye transfers were the mainstay of advertising — easy to retouch.




You must be logged in to post a comment.