
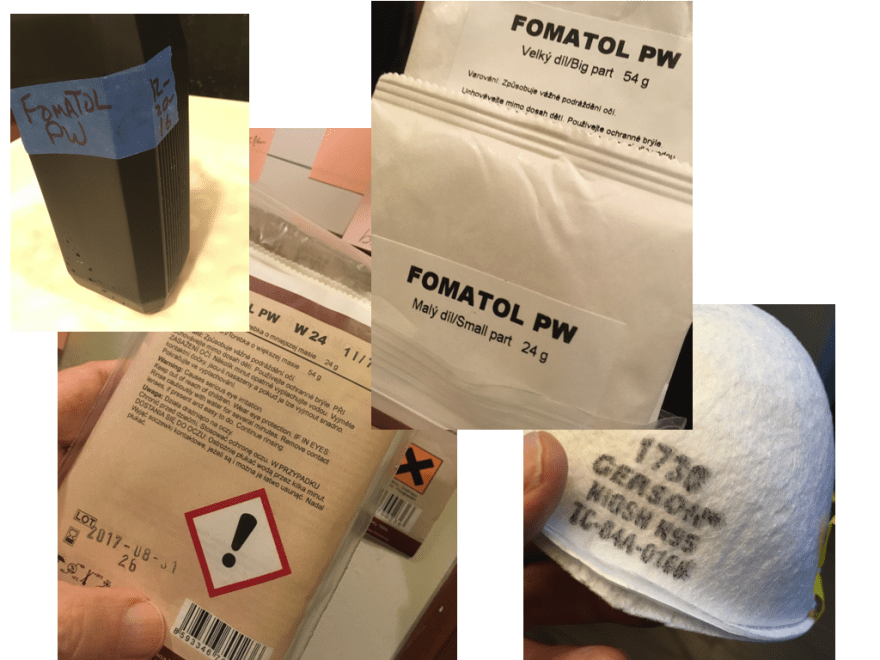
Fomatol PW is my standard warmtone developer. I’ve mixed from scratch, bought magic potions, changed proportions many times of the 50 years in the darkroom. This is the developer that satisfies my need. The disadvantages are availability and storage life; it does not have a long shelf life, even unmixed. As a working developer it is slow acting and exhausts quickly. The tray life is just hours. It outlasts an amidol developer, but it is not Dektol (D-72) my other common black-and-white print developer.
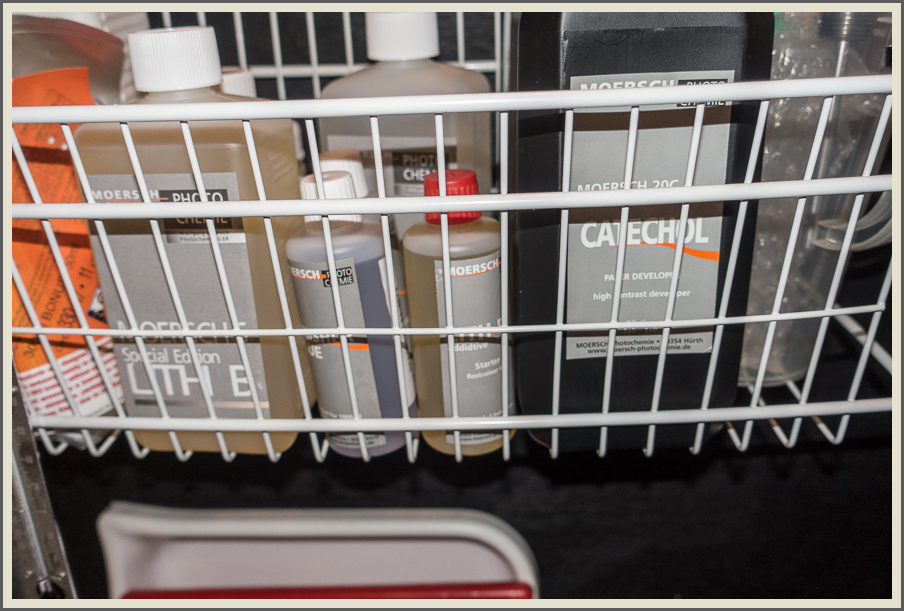
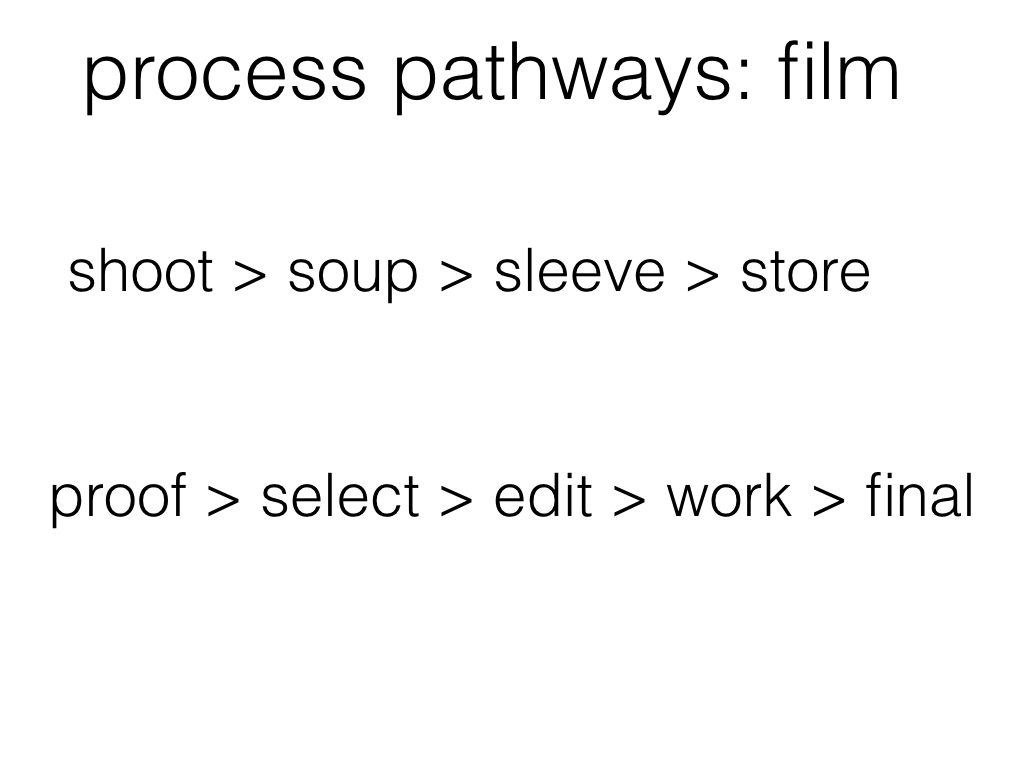
My typical developer is Dektol for proofs and edit prints. After selecting work for finals, I use a two tray method of image tuning. Fomatol PW and Moersch SE20C CATECHOL .
The english instruction sheets seem to be a source of wide ranging opinion about the developer agents, as well as the use of this developer. In going thru past notes, downloaded pdfs and, a few online posts of others, I think the product has changed. This change may be because of environmental regulations throughout the world.
At first, it was: “Specially formulated, glycine-hydroquinone” developer.” More recently, it is: “Specially formulated positive developer.” According to the US retailer Freestyle, it does not contain hydroquinone: no need for special shipping tags.
Mixing Fomatol PW
The only odd part of mixing is in understanding that “Big part” means the heavier bag. Both bags are the same size, but are different weights. Mixing directions are otherwise vary clear and simple to follow.
Using Formatol PW
Early directions gave development times based upon dilutions of 1+1, or 1+3; currently, directions are for undiluted stock. Sometimes I use it at 1+1, and have tested it at 1+3. Diluting this developer increases the times into the ‘lith’ timesphere (7 to 17 minutes) without ever getting a strong black. Using this as a stock developer is expensive, but it is worthwhile for my work.
Stock for 4 to 7 minutes using Fomatone, or Retrobrom Sp papers.
Links:
if it is glycin based? I don’t think it is anymore (since 2016).


see my post on glycin
//TBD. ansco 130 notes : see this
Labnotes: shaping negatives
If changes to development time (rates) controls density peak and range, then highlight density control is achieved readily; a direct relationship exists between development and highlight densities. While controlling shadow separations is not as simple. Shadows are dependent upon the characteristic of Film-Developer mating. Working the exercise of making parametric curves illustrate these points.
The general formulation of developer: Reducing agent, preservative, accelerator, restrainer, solvent.
Restrainers make controlled development (reduction) possible. They can also alter the (size) color of silver in the print. Potassium Bromide making that “Dektol Green” tint. DuPont BB was often used to produce Blue Black (cold tone) of Brovira, Kodabromide papers. Kodak Anti-Fog No. 1 can be used as replacement, or as addition to potassium bromide. Restrainers (aka, anti-foggants) alter contrast of the image. More AF increases contrast of the print.
Characterizing Paper: Labnotes
Packaged developers can be modified. In the 1970s the following chems were used as addenda to Kodak, Ansco, Ilford print developers:
- Hydroquinone, 4oz
- Potassium bromide, 1-4 ounces
- DuPont BB solution, or Kodak Anti-Fog No.1, also AF No.2
- Elon (Metol), 1 pound
- Sodium Sulfite, 5 pounds
- Sodium Carbonate, 1 pound
- Borax, 1 pound
1970s papers:
| CONTRAST | KODAK & GAF | AGFA |
| very low contrast | 1 | 1 |
| 2 | ||
| NORMAL grade | 2 | 3 |
| 3 | 4 | |
| high contrast | 4 | 5 |
| 5 | ||
| very high contrast (bang) | 6 |
Paper brands:
- Kodak Medalist (F1 -4), Kodabromide (F-1-4)
- Agfa Brovira (111 -1-6)
- GAF Jet (GL 1-4)
- Ilford Ilfobrome (IB 0-5)
- GAF Cykora (GL 1-4 ). an old warmtone friend
- Agfa Portriga Rapid (111 1-4) the most used warmtone paper during Peak Silver printing age.
Contrast Control by Developer Dilution:
Brovira was processed in Dektol 1:3, this produced softer acting developer as adjustment to the higher contrast of Agfa Normal. Dektol (most paper devs) can be used at range of dilutions, that is, straight (stock) up to 1:4. Paper/developers of the silver age changed print tone, going browner (warmer) with increasing dilution. This was due to change in concentration of Hydroquinone/ Elon (metol) ratio. Ilford papers (2024) are built to resist such alterations. These changes make the paper less affected by developer exhaustion or mishandling in the small volume darkroom..


You must be logged in to post a comment.