
Back in the day of dye transfer, photography was a trade taught in the US Miitary as well as private trade schools, many of which gladly accepted GI Bill tuition payments.
Large labs, processing hundreds of prints a week, divided the work into skill layers. As someone improved they were assigned to other tasks. Prove yourself often enough and you will have made it to a secure will paid career.
jobs. skills. steps
- load film, clean, mop
- soup film
- mix chemcials for lab
- make masks/seps
- make mats
- manage dyes and do rollup
The last task is key to the final result: rollup. This is primarily autographic; skill of hand, eye, timing with feedback. All the previous steps come together well, or the print fails.
Most of those who fail at dye transfer do so because they lack courage. They make the task harder than it is. Not even rollup is difficult, just needing attention.
Anyone who can teach dye, can teach anyone who can learn, in about 45 hours. This assumes you can get film in and out of a camera, and in and out of chemicals.
The hardest part about dye transfer was those who sold their weekend teaching skills to timid camera counter conversationalists.
Kodak’s Frank McLaughlin used to take people through the steps over the telephone. That’s how hard it was.
Frank wrote the latter editions of Kodak’s Dye Transfer Guide, the edition I pan elsewhere. I discount it since it was incomplete, as it tried to be thorough. The editions from the 50s was thicker, better, but referenced other materials. They were usually given away upon request; they did have prices marked.
A text that was used by many during the buildout of the Silver Rush was written by Mindy Beede. She is derided by many of the “not so many” print crowd. The slow brews that make as many as 20 prints in a career. If you wanted to learn, start with her book.
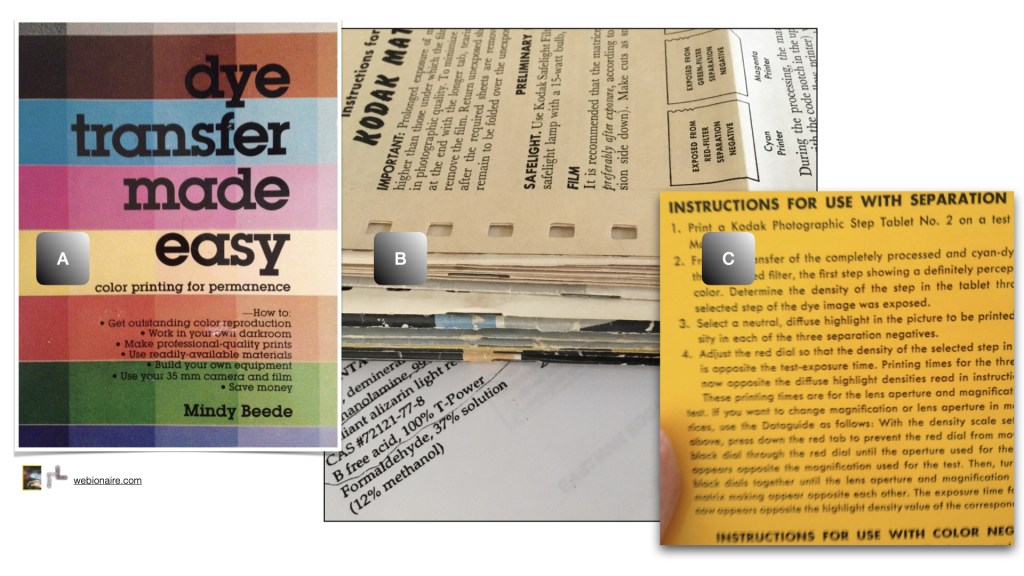
A — doesn’t match the information in B, and C; however, it is available. Items B and C are from my materials collected over years as a commercial printer.


You must be logged in to post a comment.